Building a kerb that will take a lantern on a Sussex flat roof
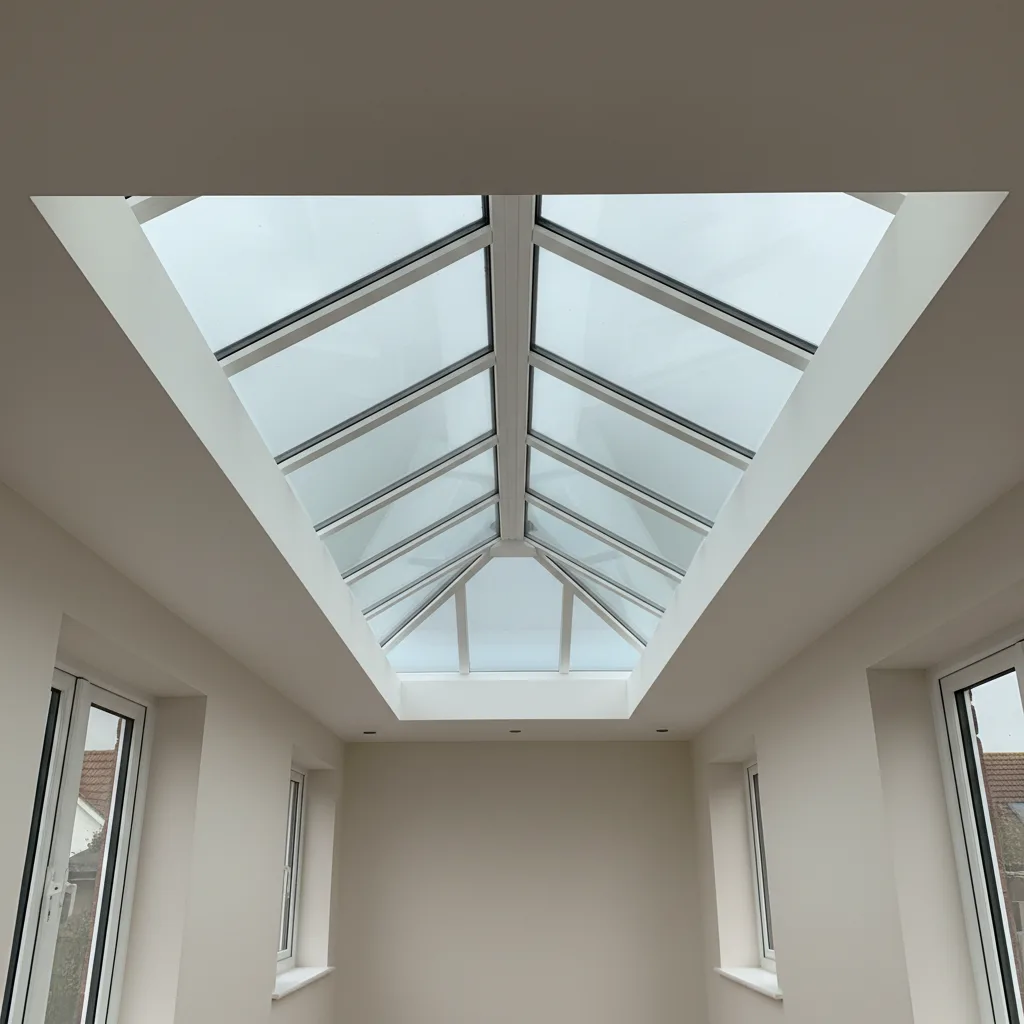
A roof lantern does not sit on a roof. It sits on a kerb, and the kerb is built by whoever builds the flat roof, which is frequently not the company supplying the lantern. That split is the single most common reason a lantern job goes wrong, and it is why we measure the kerb before the unit is ordered whoever built it.
This page sets out what a kerb has to be, in the order it gets built.
What the kerb is for
The kerb does four separate jobs, and a kerb that does three of them still fails.
- It lifts the frame clear of the water on the roof, so the seal at the bottom of the lantern is never sitting in standing water.
- It gives the roof covering something to be dressed up and terminated against, above the water line.
- It carries the weight of the lantern into the structure, continuously along all four sides rather than at points.
- It keeps the thermal envelope continuous, so the frame is not sitting on a cold bridge.
Height above the finished surface
The number that matters is the height from the finished roof surface to the top of the kerb, measured at the lowest point of the fall.
Around 150mm is the working figure. It sounds generous until you remember that a flat roof falls, and that the lowest corner of the kerb is where water arrives. A kerb measured at the high corner and built to the same height all round can end up with very little clearance at the low corner, which is where it matters.
| Dimension | Working figure | Set by |
|---|---|---|
| Height above finished surface | About 150mm at the lowest point | Standing water, covering termination, snow |
| Top surface | Level, all four sides | The lantern frame, which cannot take a twist |
| Squareness | Diagonals equal | The unit is made to size and does not adjust |
| Outer face insulation | Continuous with the roof insulation | Cold bridging and frame condensation |
| Bearing | Continuous on all four sides | Load path into the trimmed opening |
Level on top, even though the roof falls
This is the part that gets missed. The roof falls, so that water runs off it. The top of the kerb must be level, so that the lantern frame is not twisted.
That means the kerb is deeper on the low side than on the high side, and it is built that way deliberately. A kerb built to a constant height on a falling roof puts a twist into the frame, and a twisted frame loads its seals unevenly from the day it goes on. The glass is fine. The seals are the part that fails, quietly, three or four winters later.

Square, because the unit does not adjust
A made to size lantern is made to the size on the order. It does not have adjustment in it.
We measure the diagonals as well as the sides. Equal diagonals mean the opening is square. Where an existing kerb is out of square, and older ones frequently are, the options are to correct the kerb or to order the unit to the actual shape, and the first is almost always the better answer.
Insulating the outer face
The kerb is a box standing up out of the roof, and the roof insulation stops at the bottom of it. If nothing carries that insulation up the outer face, the kerb is a cold bridge running the whole way round the lantern.
What that looks like from inside is a frame that runs with condensation in cold weather. It gets reported as a leak, because it produces water on the reveal, and it appears in cold clear weather rather than in rain, which is the tell. It is covered in full on the thermal bridging page.
The fix is not complicated. The insulation is carried up the outer face of the kerb and lapped into the roof insulation so there is no gap, and the covering goes over the top of that.
The vapour control layer
On a warm roof the vapour control layer sits under the insulation, on the warm side. It has to be carried up the inside of the kerb and sealed to the lantern frame.
Where it is not, warm moist air from the room gets into the build-up, meets the cold outer part of it, and condenses inside the roof. That shows on the ceiling as a damp patch and gets reported as a leak, and opening the roof up is the only way to find it. Sealing the vapour control layer to the frame at the time of installation costs nothing and is not recoverable later.
Warm deck and cold deck
The kerb detail differs between the two build-ups, and it is worth knowing which one you have.
Warm deck
Insulation sits above the deck, the vapour control layer below it, and the whole roof is inside the thermal envelope. This is the standard for new work and it is the easier detail to get right at a kerb, because the insulation is continuous and only has to be turned up the kerb face.
Cold deck
Insulation sits between the joists with a ventilated void above it. These are common on older Sussex extensions. The kerb detail is harder because the insulation line is below the deck, the void has to stay ventilated, and the kerb passes through the cold zone. It is entirely doable and it needs to be thought about rather than assumed.
Coverings, and how each one terminates
What the roof is covered in changes how the kerb is finished, and the coverings around Worthing vary more than you would think.
| Covering | Termination at the kerb | Notes |
|---|---|---|
| Single ply membrane | Welded up the kerb face, terminated under the trim | Clean detail, needs a continuous substrate to bond to |
| Reinforced bitumen membrane | Torched or bonded up the face in layers | The traditional detail, still the most common on older roofs here |
| Liquid applied system | Coated continuously up the face | Good on awkward geometry and around existing kerbs |
| GRP | Laminated up the face with a bonded trim | Common on 1990s and later extensions across the county |
| Asphalt | Dressed up the face, angle fillet at the base | Found on older and larger flat roofs, including some Brighton parapets |
All five work. What none of them tolerates is a kerb too short for the covering to be taken up above the water line.
What the kerb is made of
Most kerbs on domestic flat roofs are timber, and timber is a perfectly good material for the job provided it is treated, kept dry and detailed so that it stays that way.
Timber
Softwood, treated, built as a box and fixed into the trimmed opening. It is what almost every kerb around Worthing is made of and it is what we build unless there is a reason not to. Its weakness is that it is unforgiving of long term water at the top edge, which is exactly where a failed seal puts water.
Insulated composite kerbs
A proprietary kerb arrives with the insulation already bonded to it, which removes the most commonly missed step on site. They are worth their cost on a job where the roof is being rebuilt anyway, and they are less useful where an existing kerb is sound and only needs correcting.
Upstands formed in the roof structure
On some newer extensions the upstand is framed as part of the roof rather than added on top of a finished deck. That is the cleanest arrangement, because the insulation and the vapour control layer are continuous by design rather than by remembering.
Sizing the kerb to the unit, not the other way round
There are two dimensions in play and they are easy to confuse: the structural opening, and the outside of the kerb the unit sits on.
Manufacturers quote lanterns either to the external frame size or to the kerb size they expect to sit on, and the two differ by the thickness of the kerb walls all the way round. Ordering a unit against the wrong one of those numbers produces a lantern that overhangs the kerb or sits inside it, and neither can be corrected on the day.
We confirm which dimension the unit is quoted against before the order goes in. It sounds obvious. It is the second most common cause of a lantern arriving that does not fit.

Snow, and the case people forget
The 150mm figure is usually justified by rainwater, and on this coast rain is the daily case. Snow is the occasional one and it is the reason the figure is not smaller.
Snow does not run off. It sits on the roof, drifts against anything standing up out of it, and melts from underneath where the roof is warmer. A kerb that gives adequate clearance in rain can be well under water level in a drift that is melting at its base, and the water has nowhere to go until the outlet clears.
Inland and on the higher ground toward the Downs this is a real load rather than a theoretical one, and it is another reason we measure the clearance at the low corner.
Building on an existing kerb
A great deal of our lantern work is a replacement onto a kerb that is already there, and an existing kerb has to be assessed rather than assumed.
- Measure the height at the lowest point of the fall, not at the highest.
- Check the top for level across both directions, and for twist corner to corner.
- Check the diagonals for square.
- Open up enough to see whether the outer face is insulated and whether the vapour control layer was ever sealed.
- Check the timber itself. A kerb that has been taking water at a failed seal for years is frequently sound on the outside and soft at the top.
Where the kerb is right, a replacement is quick and the covering is never disturbed. Where it is not, correcting it while the roof is open is straightforward, and it is the difference between a unit that lasts and one that is back on the list in five years.
The split responsibility
On most jobs the kerb belongs to the builder and the lantern belongs to the supplier, and neither of them measures the work of the other. The result is a unit ordered to a drawing and a kerb built to a different one.
We measure the kerb ourselves before the unit is ordered, whoever built it, and we say what has to change before it is ordered rather than after it arrives. That is the whole of the fix, and it is the reason this page is on the site.
What the survey covers on a lantern
We survey the roof and open up where we need to see the build-up. We measure the kerb for height at the low point, level, twist and square. We specify what the kerb has to be, build it or correct it where that is our work, and order the unit to the measured opening. We notify Building Control where the work is notifiable.
The lantern is the part you look at. The kerb is the part that decides how long you get to enjoy it.
Thinking about this job? We survey across Worthing, West Sussex and the South Downs and give you a fixed price before any work starts, with a 10-year workmanship guarantee.